How to Clean and Fix Your Nail Drill Handpiece?

nail drill handpiece
Leave us a message

See how 300+ brands are creating value with Iksbeauty.

Introduction

In our previous article, we took a comprehensive look into the world of electric nail drills, diving into their primary features and optimal utilization methods. Today, we’re setting our sights deeper, pulling back the curtains on the intricate internals of a nail drill handpiece, coupled with a detailed guide on its care and maintenance.

Common Problems and How to Fix Nail Drill Handpieces

Before diving into maintenance, it’s crucial to identify prevalent challenges:

  1. Increasing Noises: If your nail drill starts sounding like a mini chainsaw, it’s often because of worn bearings, loose internal components, or the pesky buildup of dust and nail debris.
  2. Drill Bit Stalling: A common and frustrating issue can be a drill bit that refuses to spin. This problematic occurrence can be chalked up to a few culprits: perhaps there was a hiccup during installation, a buildup of grit and grime, or simply components that have given up the ghost.

The remedy? Systematic cleaning, lubrication, and timely maintenance!

Deciphering the Nail Drill Handpiece

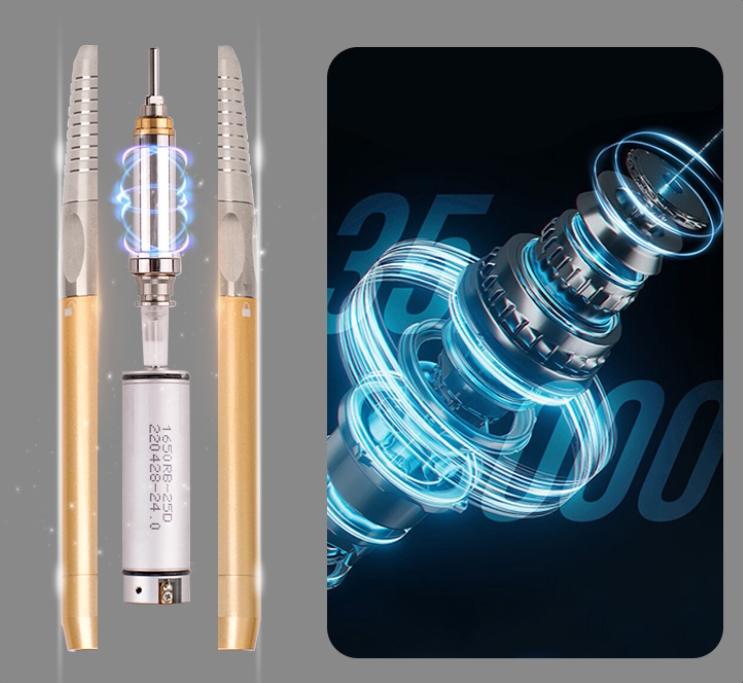
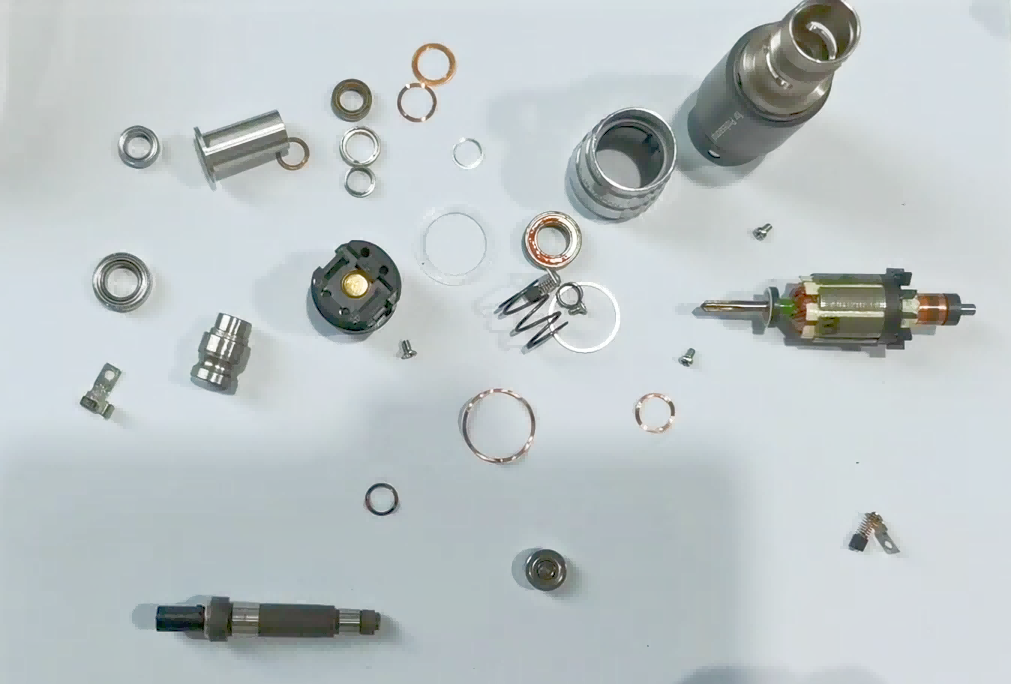
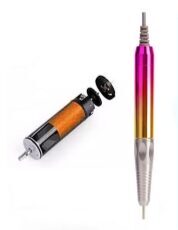
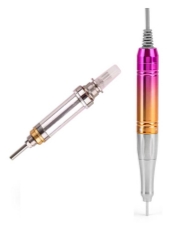
While the design and construction of a nail drill handpiece might differ across brands. For example, the following two pictures, the first one is the construction of the most common handpiece parts on the market, the second one is the high-end customized models of our customers, just from the number of parts, you can see that the workmanship of the product is very different.

The construction of a nail drill handpiece
standard model
The construction of a nail drill handpiece
customized model

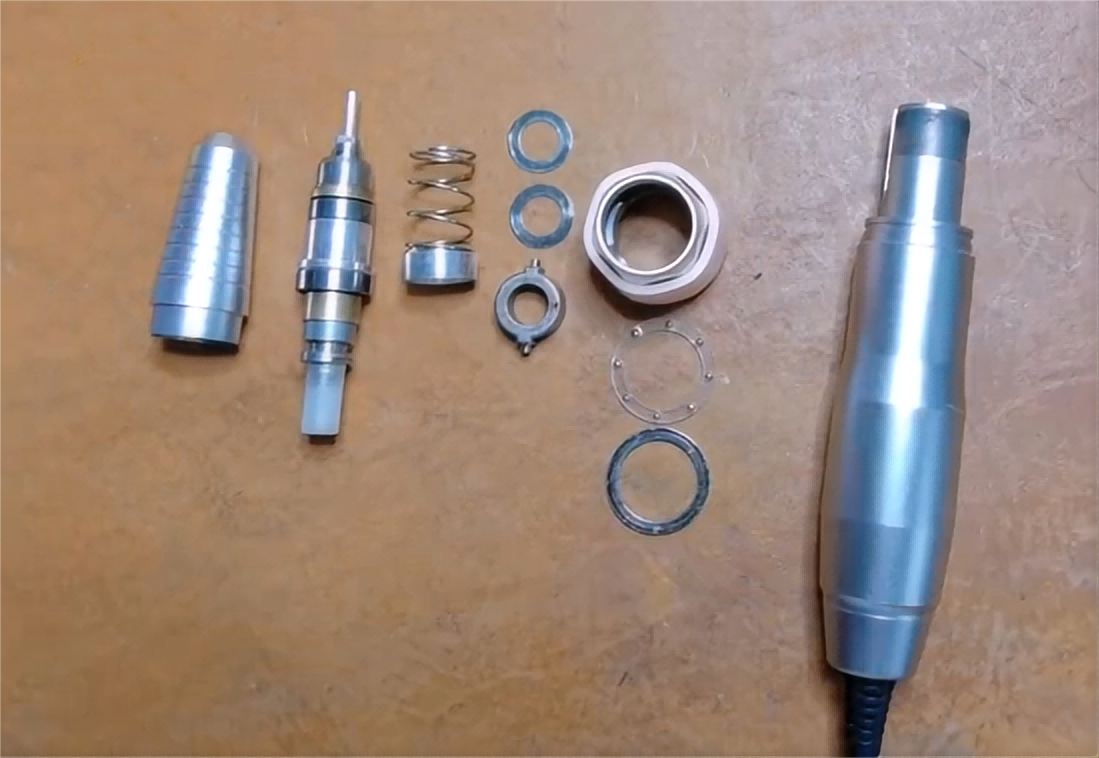
There are fundamental components shared amongst most:

  1. Motor: The driving force, responsible for rotation. Types include carbon brush, brushless, and hollow cup motors. Each type contains a rotor and stator, with carbon brush motors additionally featuring brushes and a commutator, and brushless motors including an electronic speed controller.
brushed motor of nail drill handpiece
brushed motor
brushless motor of nail drill handpiece
brushless motor
coreless motor of nail drill handpiece
coreless motor
  1. Bearing: These reduce friction, allowing for that silky-smooth spin of the spindle.
  2. Spindle: Connected to the drill head, it grabs the power from the motor.
  3. Ball Bearings: They’re integral for holding the shaft in place and ensuring everything moves without unwanted friction.
  4. Seals: Prevents contaminants from entering the handle.
  5. Spacer: Adjusts or maintains the space and positioning of various parts.

And then, based on the unique design quirks of different brands, some handpieces might come equipped with additional cooling systems or even gears to enhance functionality.

A Comprehensive Guide on How to Clean Nail Drill Handpiece

Supplies:

  • Suitable sanitizing solution or disinfectant alcohol
  • Soft cloth
  • Small brushes for detailed cleaning
  • Small pliers, because some parts are hard to unscrew
  • Lubricant
  • Gloves (recommended for safety)

Procedure:

  1. Safety Above All: Before diving in, disconnect your device from any power sources.
  2. Disassembly: Utilize the small pliers to disassemble all parts carefully, you must avoid certain parts popping out or slipping off, which may cause the parts to be lost. A pro tip: consider recording your disassembly process, ensuring you have a visual guide for reassembly.
  3. Cleaning Crusade: With your cloth and brush in hand, embark on a mission to eliminate every speck of debris and dust.
  4. Sterilizing: Give your handpiece parts a thorough soak in the sanitizing solution. Make sure to follow the recommended soak duration.
  5. Drying: Ensure all components are thoroughly dried.
  6. Lubrication: Apply lubricant to necessary parts like bearings.
  7. Reassembly and Testing: Put everything back, reconnect, and test its functionality.

Persisting issues post-cleaning might be indicative of a more profound problem, like the need to replace components such as the motor or the bearings. That’s why we went a brief look at handpiece construction at the outset.

For the professionals out there, especially those running bustling salons, remember: cleanliness isn’t just about performance; it’s about ensuring your clients’ safety. Making it a routine to clean those nail drill bits and other attachments after each use isn’t just best practice; it’s a hallmark of a professional.

ND357S
NDP40M
ND363S

Concluding Thoughts

The essence of this guide is to highlight the significance of understanding and maintaining your nail drill handpiece. The insights provided steer clear of complex electronic or mechanical fixes but emphasize cleaning and basic troubleshooting. Adopting these best practices ensures not only impeccable service quality but also the safety of your clientele. Here’s to mastering the art of nail drill maintenance and a flourishing nail art journey!

Social Sharing: If you found this guide valuable, please consider sharing it on your favorite social media platforms. Your support helps others get access to this crucial information!

Feedback and Comments: We truly value your thoughts and feedback! If our website’s setup permits, kindly leave your comments, questions, or experiences below.

  • Phone
  • Mail
  • WhatsApp
× Send