
See how 300+ brands are creating value with Iksbeauty.
The advent of electric nail files has disrupted the norms in the field of nail art, significantly boosting the efficiency of nail technicians. However, due to the perceived complexity of mastering these machines, many individuals find themselves hesitating to explore their potential.
This article aims to demystify the enigmatic world of electric nail files, offering insights into their principles and usage. Imagine your hands or feet as canvases, with the electric nail file as your brush. Together, let’s embark on this exploration!
Electric nail files, also known as nail drills, are an auxiliary tool developed for nail arts and can be used to remove dead skin, gel polish, remove decoration residues from the nail edges, polish the nail surface (buffing), and can be used to sculpt nails and adjust their thickness. Of course, different needs require different drill bits for various applications.
Electric nail files are made up of two main parts, the part that you hold in your hand to operate is called the handle, the part that controls the speed of the handle and provides the power supply is called the main control unit. The handle is designed with a drill bit lock, when you need to replace the bit, a slight twist can be done.
Typically, when you receive an electric nail file, it includes the main unit, handle, connecting cables, charging cable (with plug), stand, drill bits, and an instruction manual. Before using the file, connect the handle and main unit (for rechargeable models, it’s advisable to fully charge the battery before use to maximize its lifespan). Next, install the drill bit, and you’re ready to power on the machine.
1. Handle Motor: The handle motor is the primary factor affecting the performance of electric nail files and is the key classification criterion.
2. Main Unit Battery Performance: From this perspective, electric nail files are categorized into plug-in and rechargeable models.
3. Circuit Board: If you encounter issues such as frequent malfunctions or an inability to start or charge, the circuit board is likely the culprit. Circuit boards are also suitable components to cut corners on, with good boards having smooth procedures and few errors, while cheap boards are riddled with problems.
4. Casing Material: Electric nail files typically come in plastic or metal casings. Plastic casings are more affordable but may feel less premium and can be prone to cracking upon impact. Metal casings are more durable and provide a superior tactile experience, often found in high-end models.
5. Display Screen: Some electric nail files come equipped with display screens that show information like speed, battery level, and rotation direction. LCD screens tend to be more expensive than LED digital displays.
1. Rotation Direction: Electric nail files offer both forward (F, clockwise) and reverse (R, counterclockwise) rotation. The direction of the drill bit’s rotation should be opposite to your hand’s movement for effective nail removal. This ensures resistance for efficient nail polishing, preventing slipping. You can test this by holding the file in your hand at the lowest speed setting.
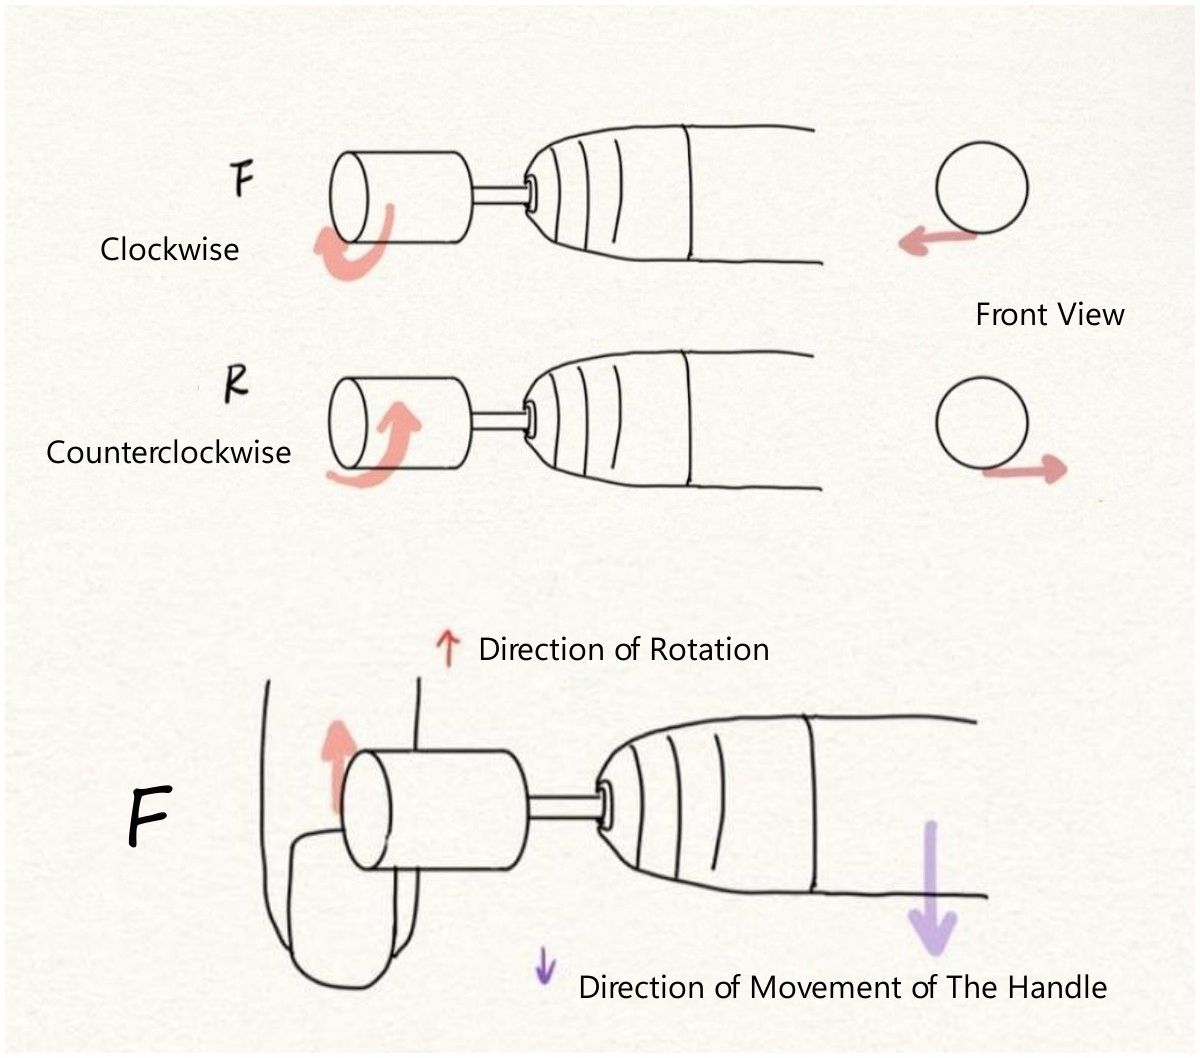
2. Speed Control: Actual speed is calculated by multiplying the displayed number by 1000. For initial tasks, it’s recommended to use speeds below 10,000 RPM. When polishing, speeds between 15,000 and 20,000 RPM are ideal.
3. Nail Drill Bits: Various drill bits made of different materials and cater to purposes. Here are some basic drill bit types and their uses:
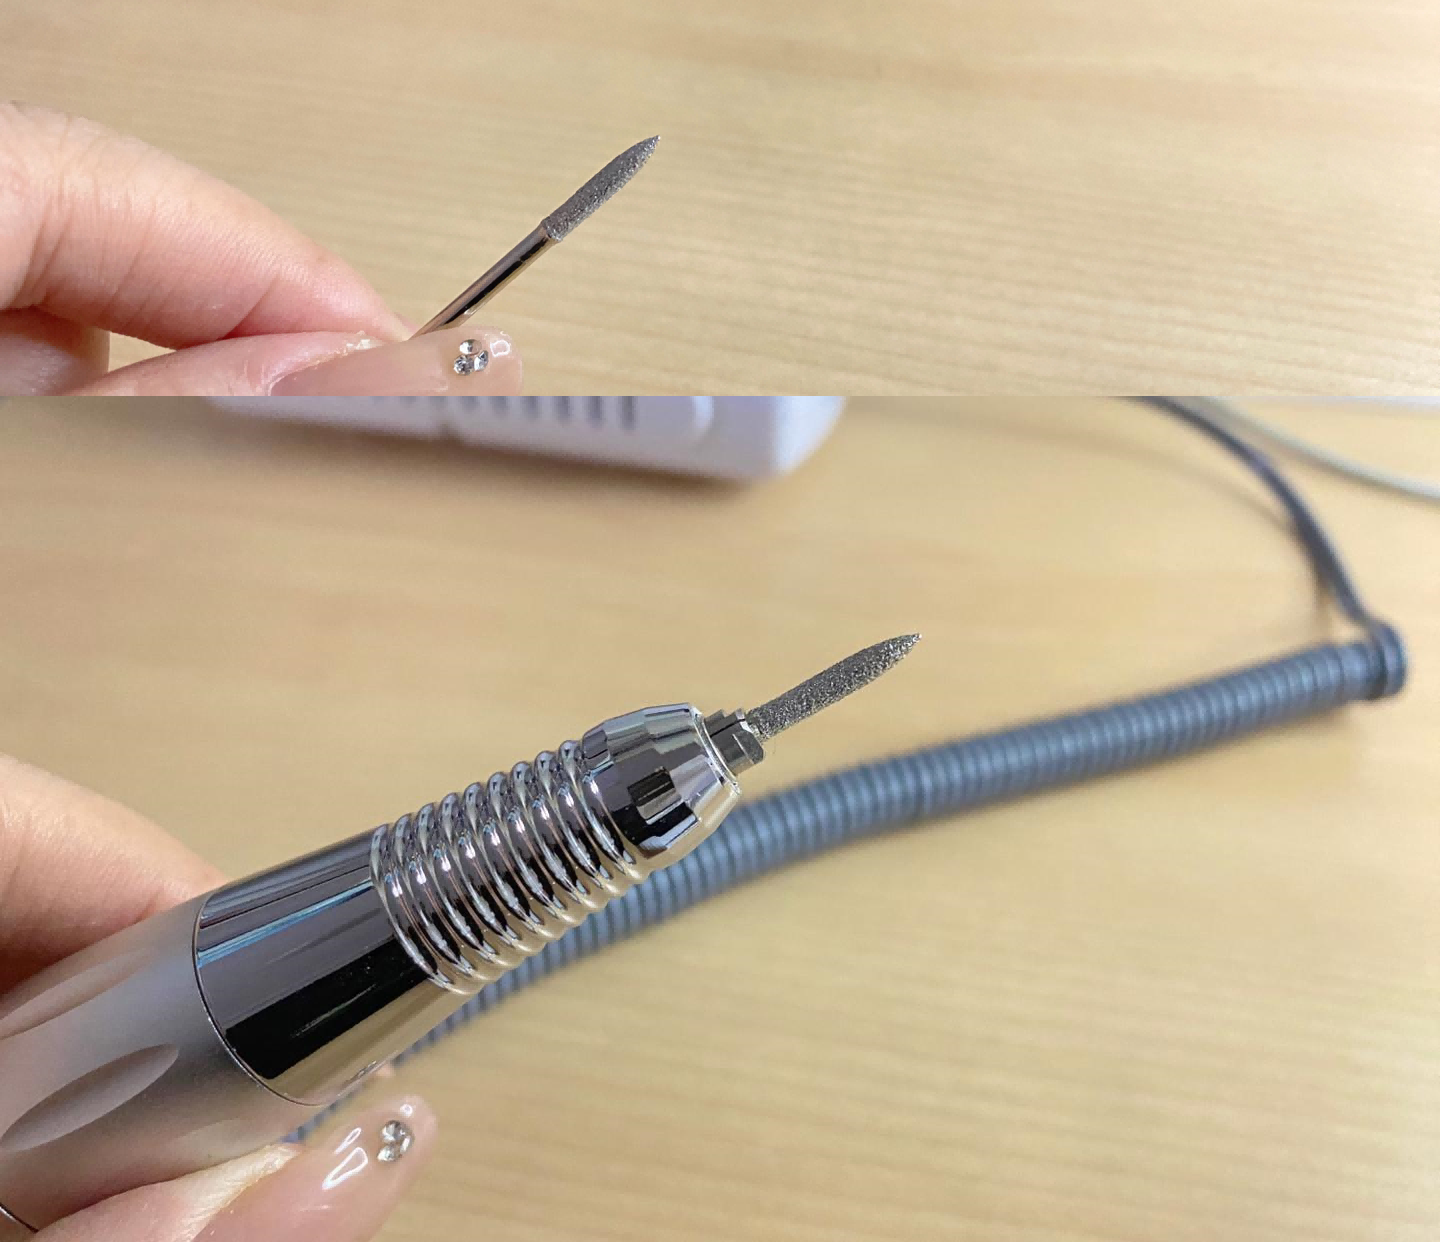
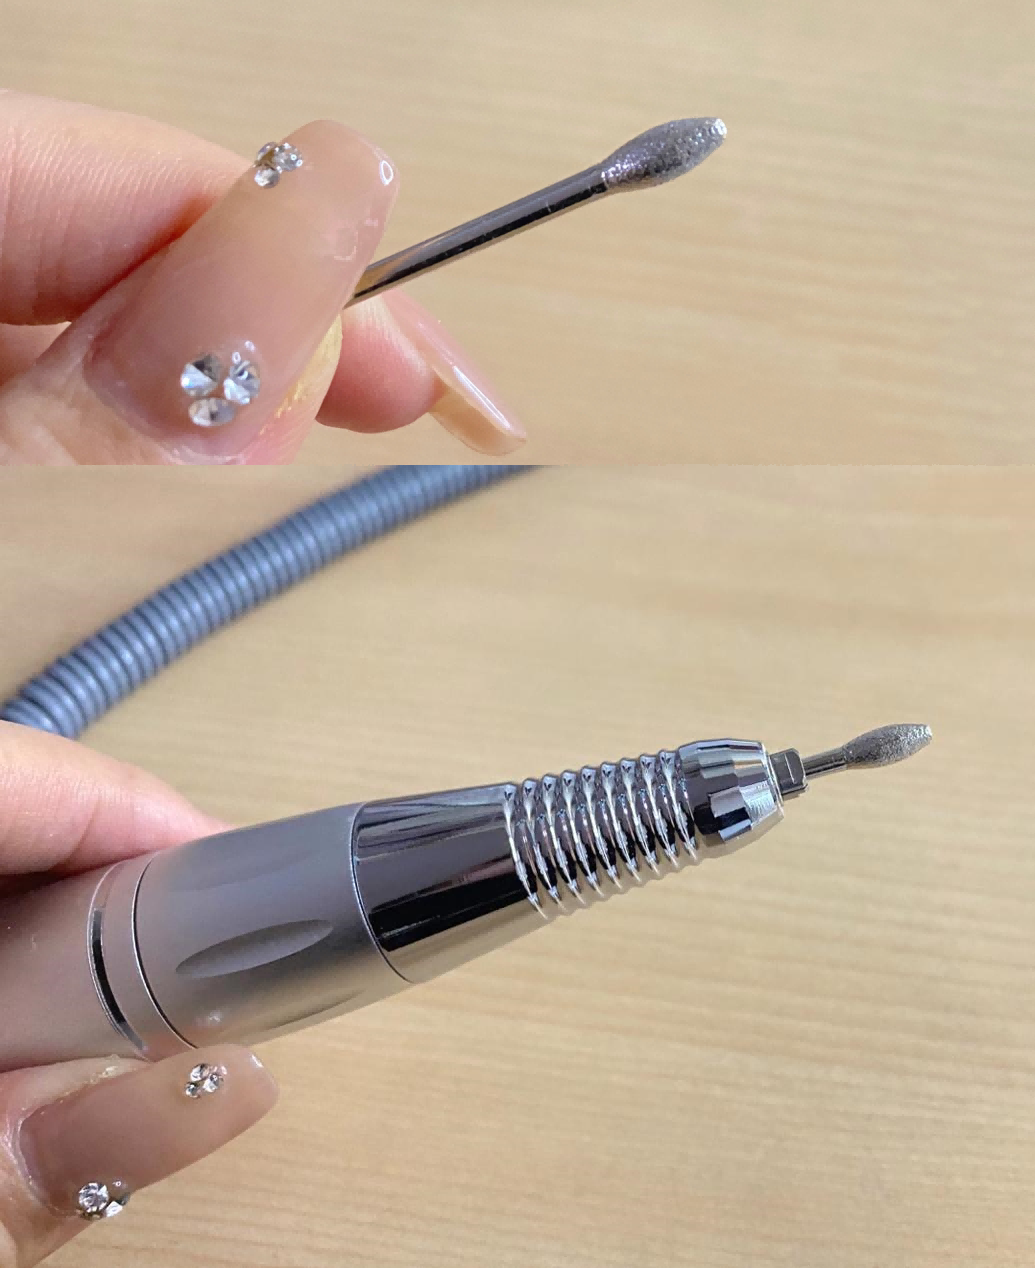
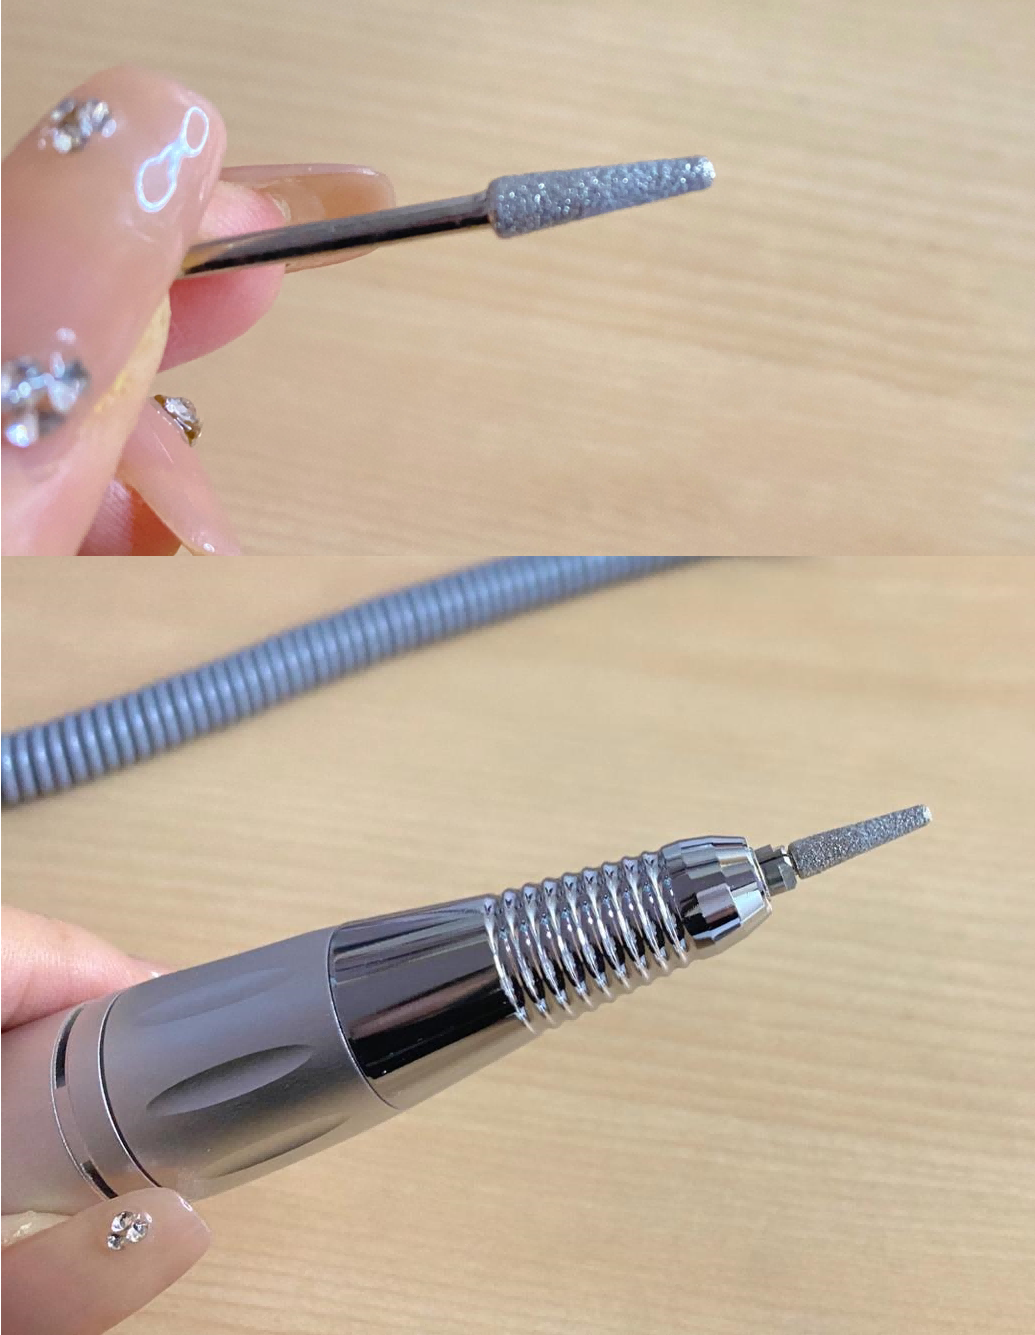
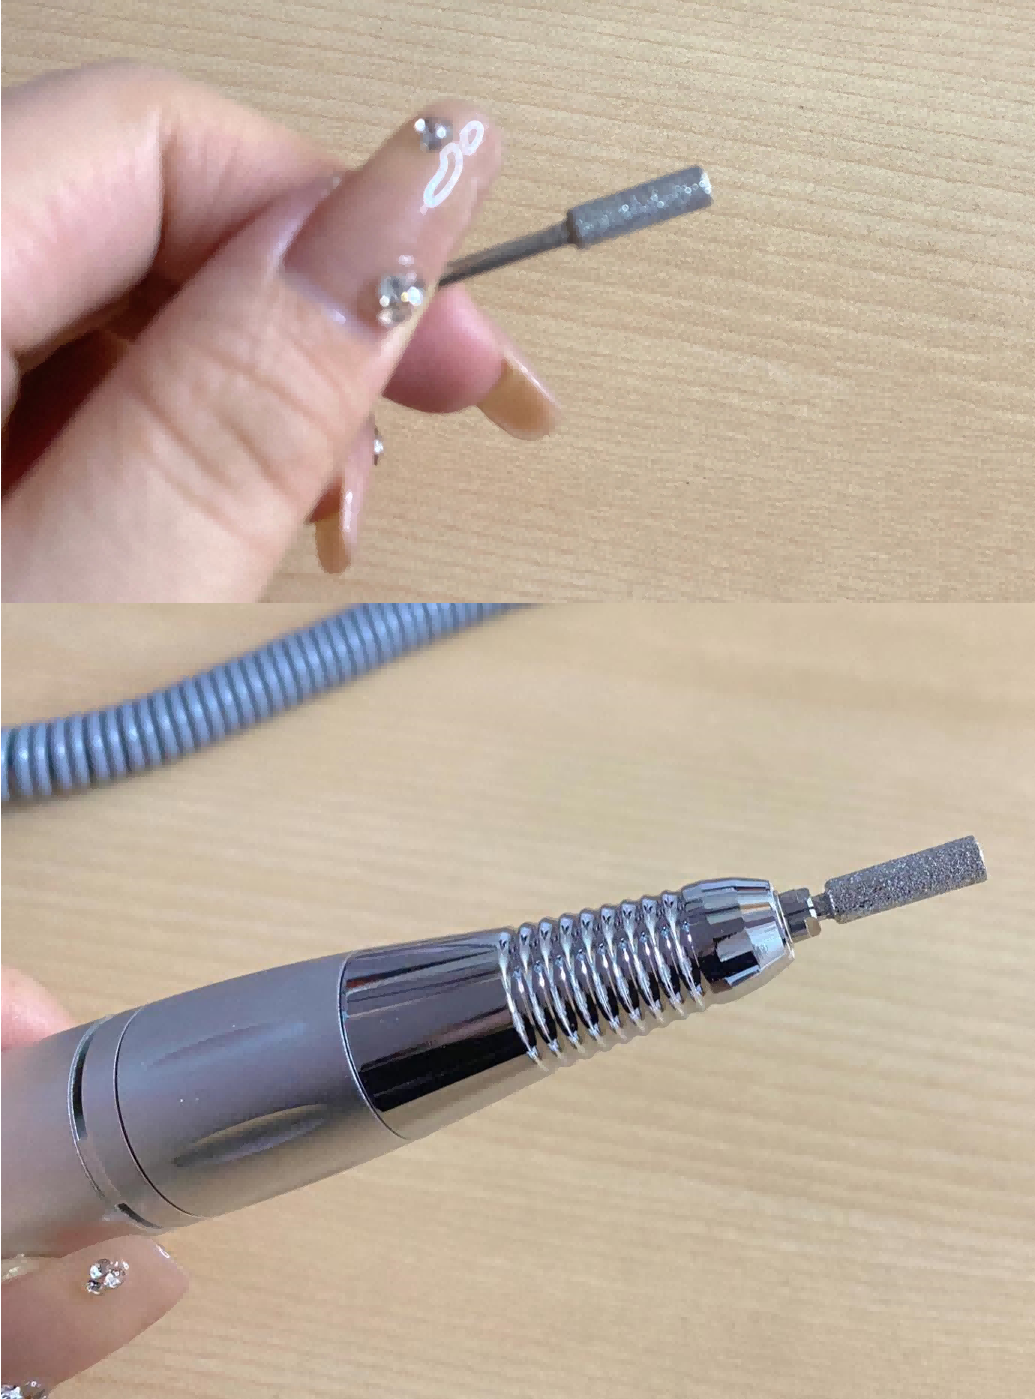
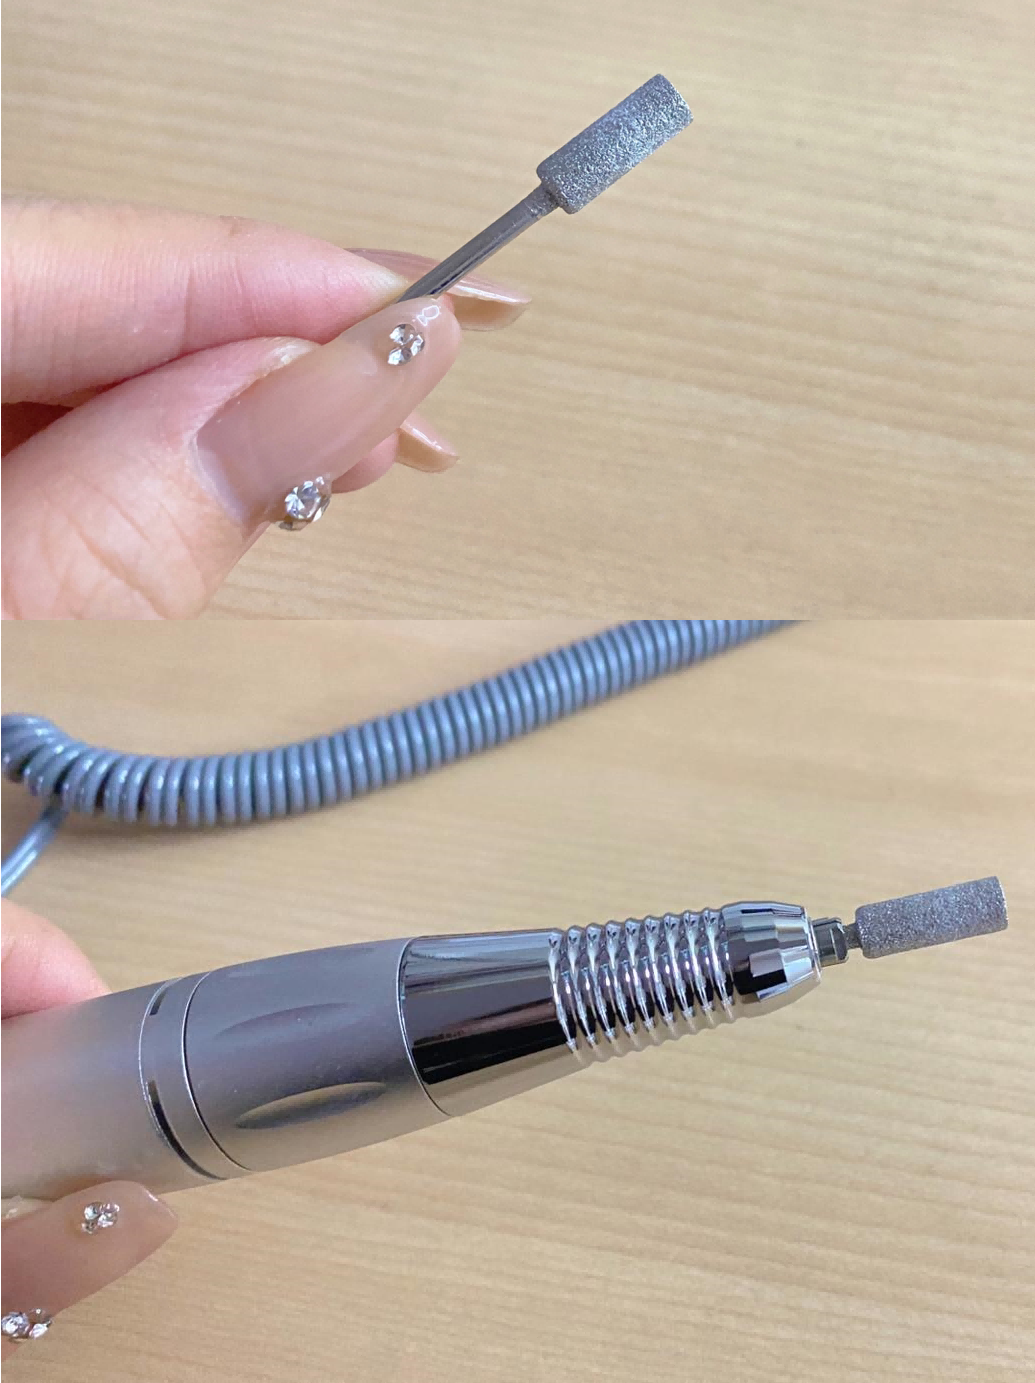
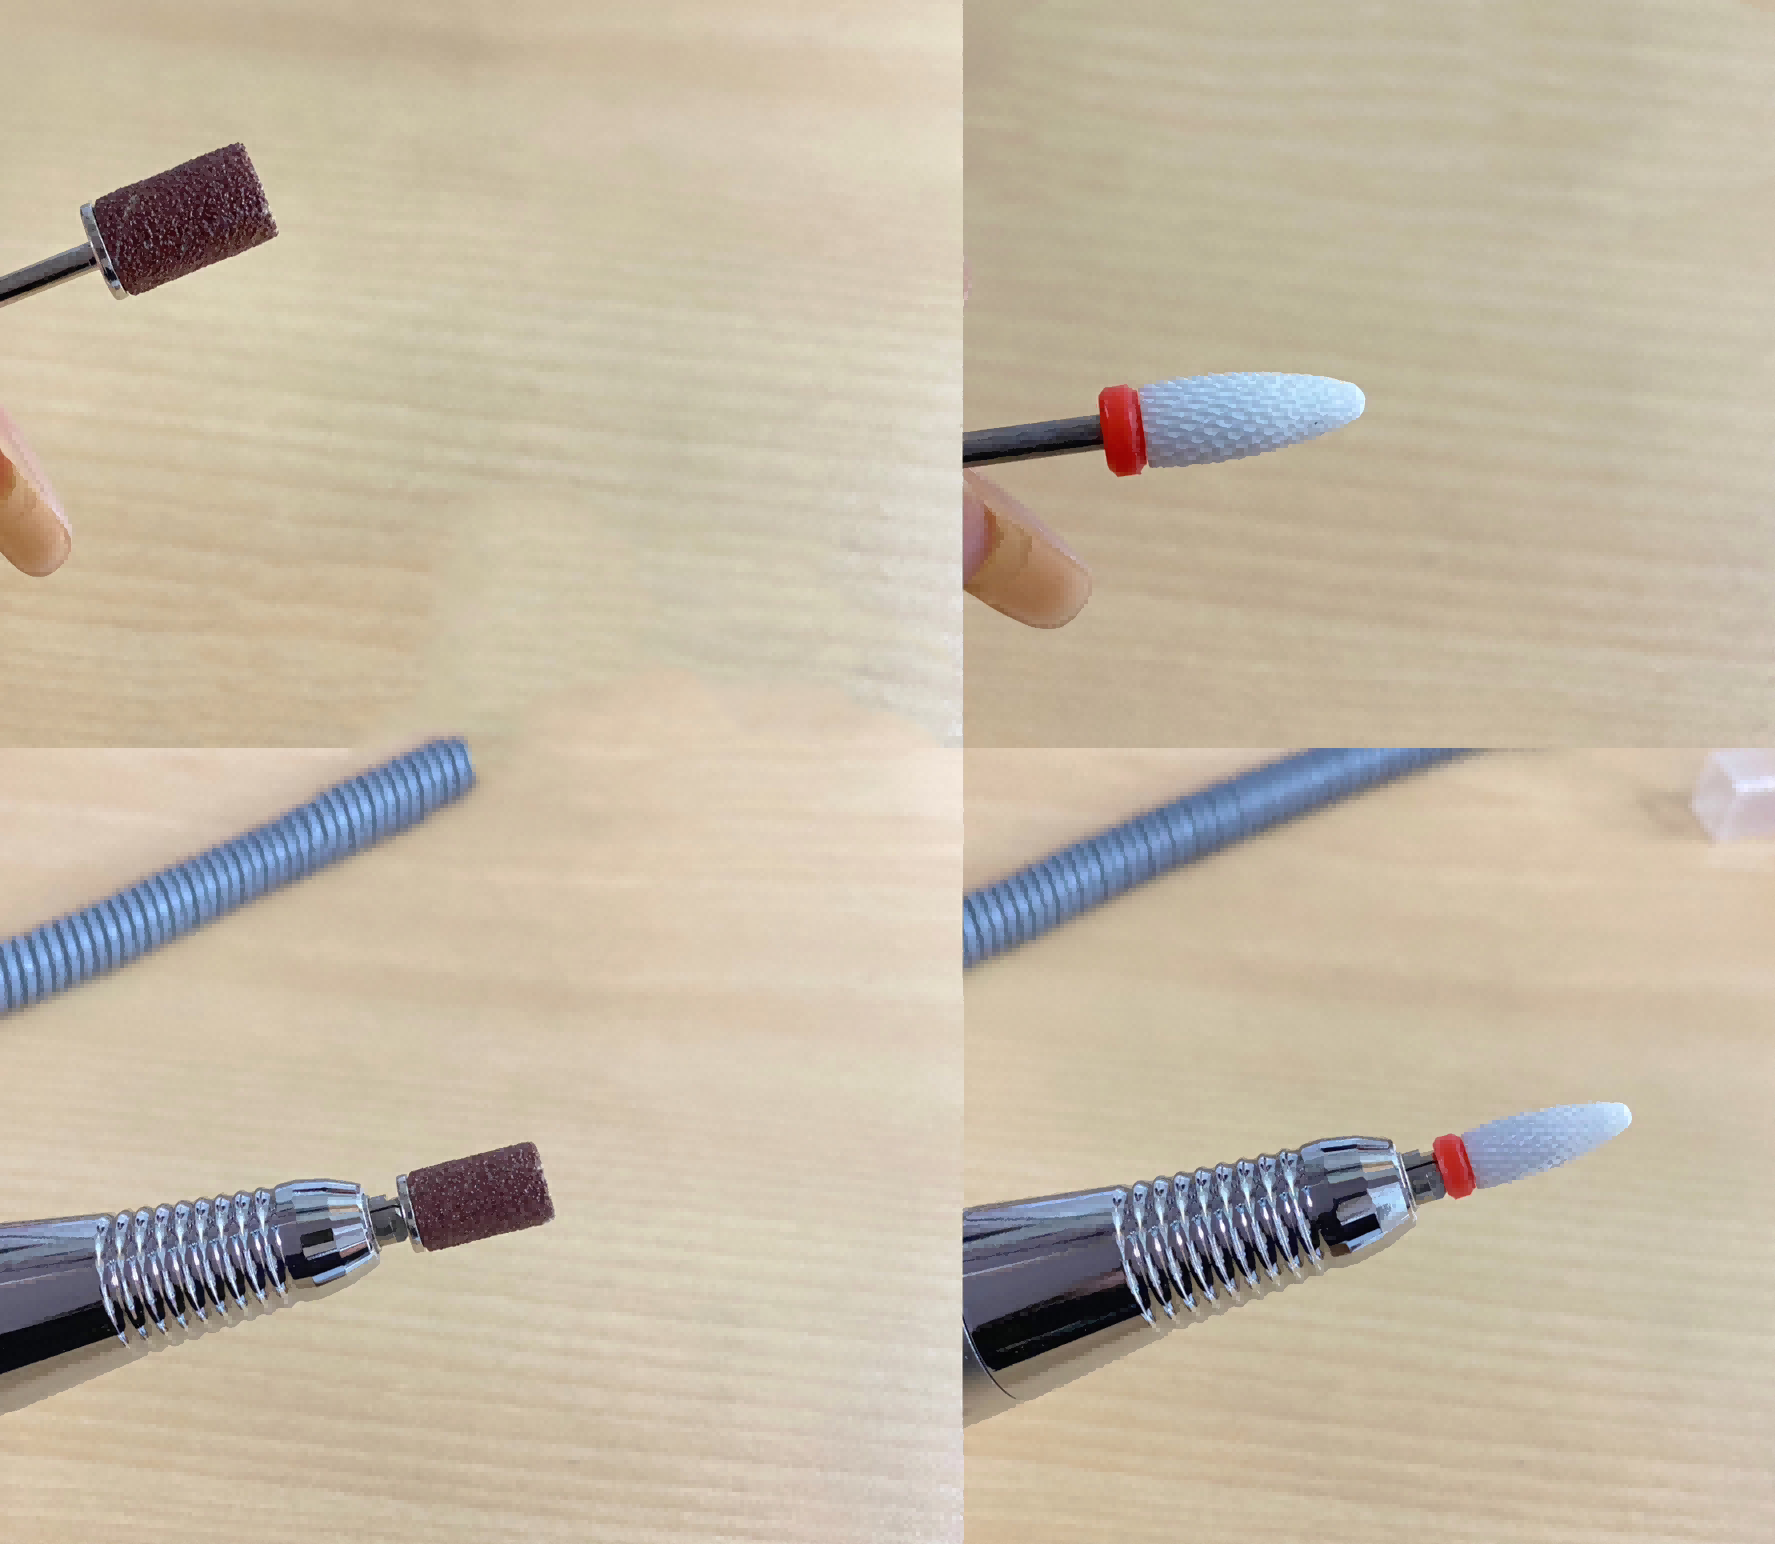
In summary, use small cylinders, large cylinders, corn ceramics, and sanding ring bits for nail polishing and shaping, while needle, conical, and bullet bits are suitable for initial tasks.
Before starting, ensure your nails are trimmed to the desired length. Hold the handle with a firm but comfortable grip, similar to holding a pen, and power on the machine. After usage, power off and clean the entire unit.
For beginners, it’s advisable to start with lower rotation speeds and gradually increase the speed as you gain confidence. When using the file, avoid pressing too hard; ensure the drill bit remains parallel to the nail surface to prevent accidents. If you’re apprehensive, you can practice on boiled quail eggs to get a feel for it.
During usage, keep the following in mind:
1. Ensure the sanding head is securely fastened before using, with no looseness.
2. When adjusting the rotation speed, do so gradually to avoid sudden and significant changes.
3. Before changing the rotation direction, either turn off the electric nail file or use the pause function.
Thank you for reading our guide on how to use an electric nail file effectively. Now that you’re equipped with the knowledge, it’s time to put it into practice. Enjoy the convenience and beauty of well-maintained nails at your fingertips. If you found this article helpful, feel free to share it with your friends or discover additional nail care tips and tricks on our website!
16 Years
Experience
12 Months
Warranty
Monday - Sunday
24/7 Customer Support
Be the first to know about special offers, new innovations and more.
We will arrange for a specialist to contact you immediately.