Let's start with a brief conclusion.
Taking a 36W nail lamp as an example, the general gel polish can be dried in 1-2 minutes. By this calculation, a 9W nail lamp will need about 6 minutes, while a 48W nail lamp only requires approximately 1 minute.
However, there’s no definitive answer to this. The above calculation is just a reference. The curing time for gel polish depends on both the nail lamp and the type of gel polish. Nail lamps have complex parameters and there is a vast variety of gel polishes in the market. The best approach to figure out the exact curing time is through trial and error: start with 5 minutes, adjust the duration as needed, and if you experience discomfort, consider reducing the exposure time.
Now, let’s delve deeper into the specifics.
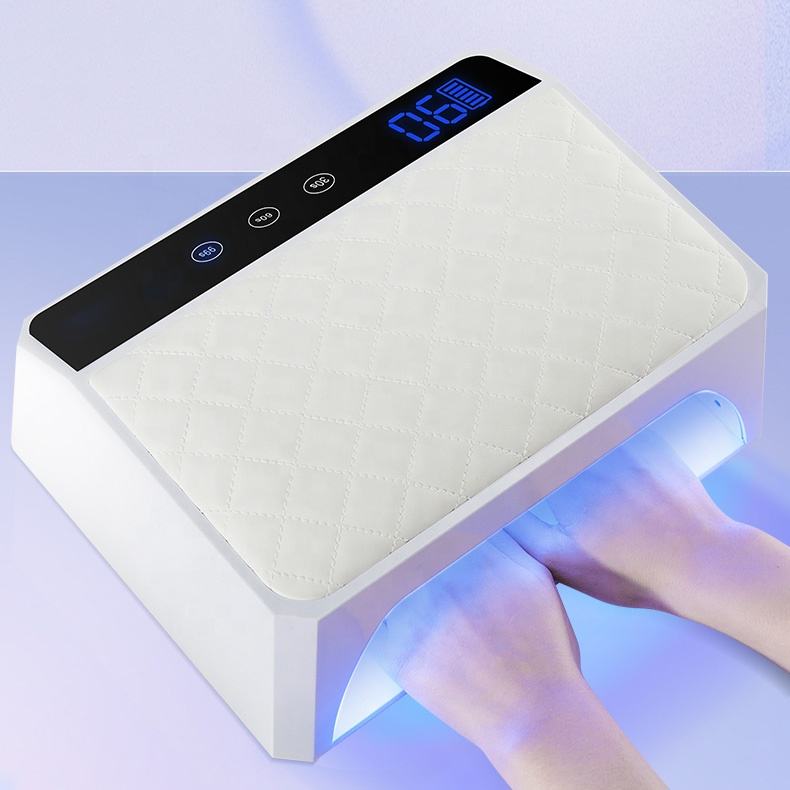
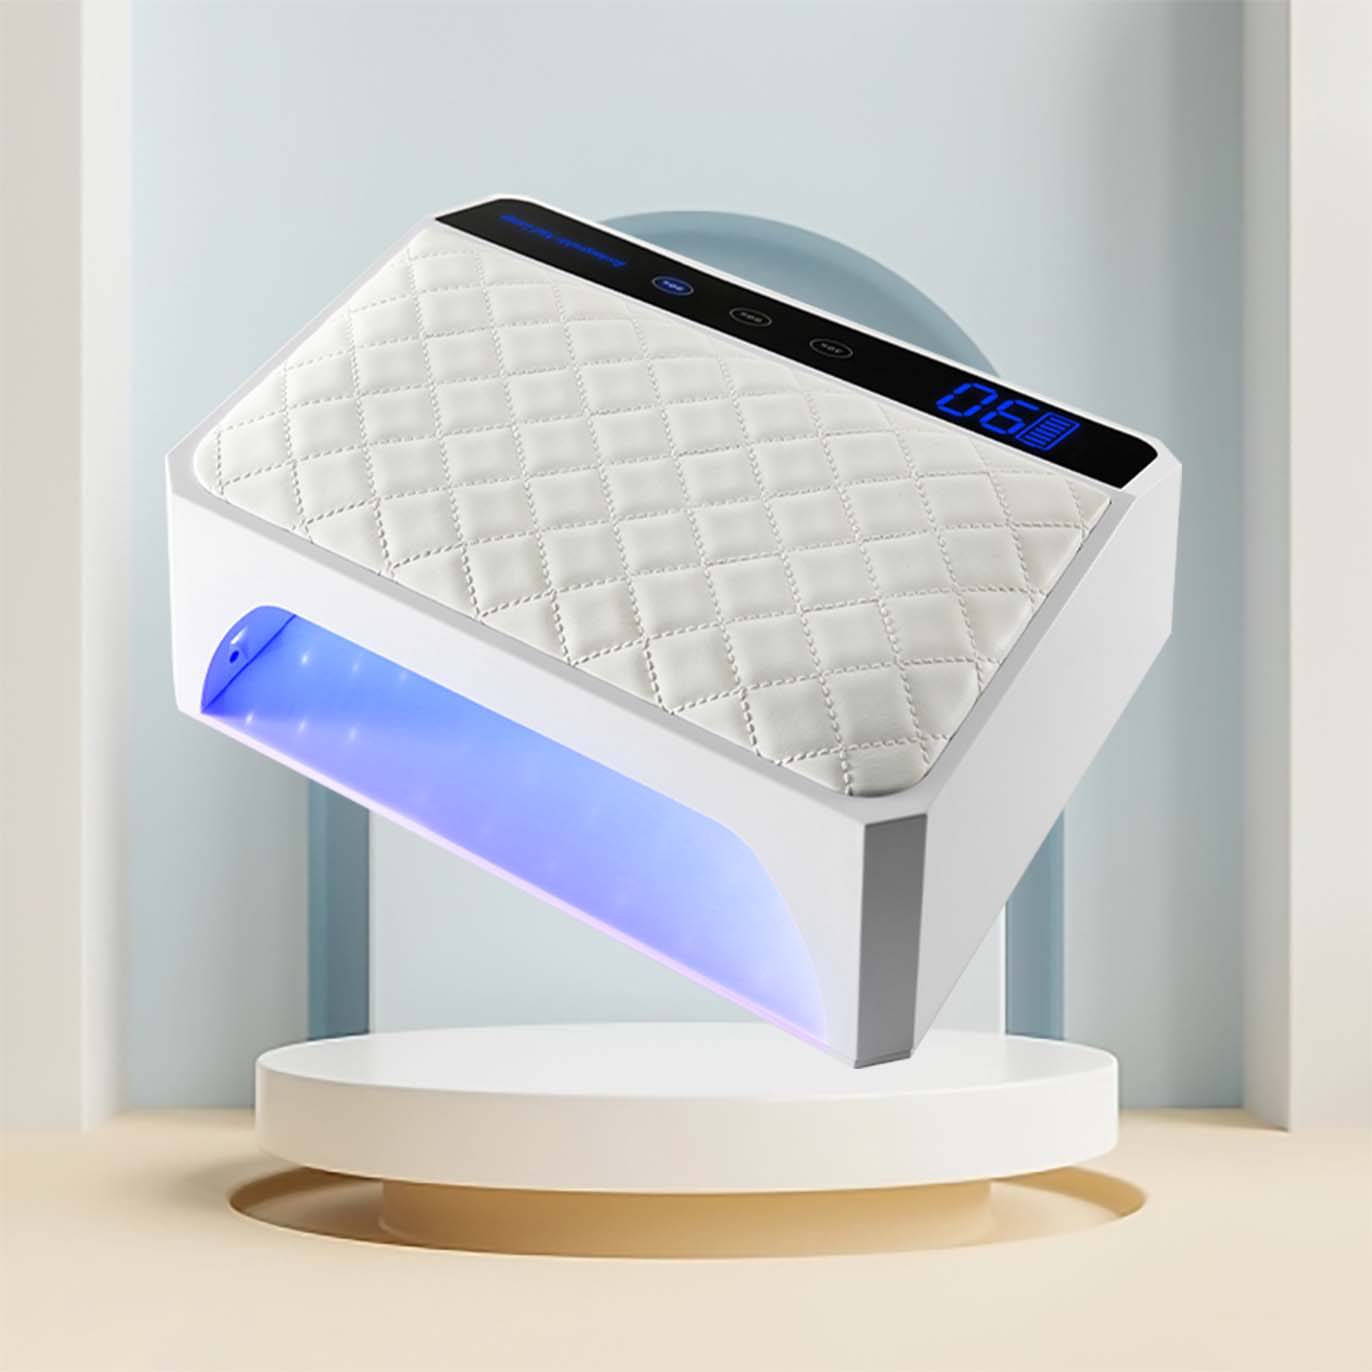
Major Factors of Nail Lamps: Wattage, Spectrum Distribution, Number of Beads
- Wattage: The wattage of a nail lamp is the most direct and influential factor. The higher the wattage, the shorter the curing time. However, an excessively high wattage might cause a burning sensation for some people, so avoid blindly pursuing high power.
- Spectrum Distribution: Nail lamps, depending on the light source’s spectrum or wavelength, can be categorized into nail dryers, UV nail lamps, LED nail lamps, and UV & LED nail lamps. In simple terms, nail dryers don’t emit UV or LED light. UV nail lamps produce 365nm ultraviolet rays, LED nail lamps emit 365-405nm visible light, while UV & LED lamps can produce both 365nm and 405nm wavelengths.
The curing time a lamp takes also depends on the type of gel polish being used. For instance, UV nail lamps are most efficient and quickest for UV gel polishes, while LED lamps are fastest for LED gel polishes. - Number of Beads: The more the beads, the shorter the curing time.
The distance between the nail and the nail lamp bulb is also a factor that influences the curing time. The closer the nail is to the bead, the higher the intensity of the light, resulting in a shorter curing time. However, placing the nail too close can lead to over-curing or a burning sensation. Manufacturers design nail lamps keeping this in mind, suggesting that positioning your hand in the center of the nail lamp is the optimal distance.
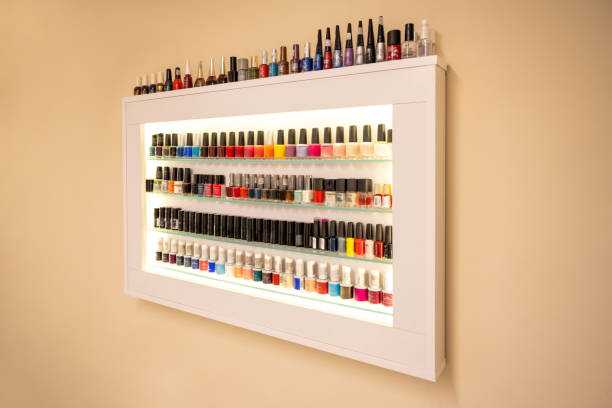
Difference between Regular Nail Polish and Gel Polish
Regular nail polish can dry naturally, or you can use a simple nail lamp to increase local temperature and wind speed to accelerate the drying. In contrast, gel polish requires UV or LED nail lamps for curing. Gel polish mainly consists of resin and needs light curing equipment for drying. Due to its light-sensitive nature, gel polish is generally stored in opaque glass bottles and requires storage away from light.
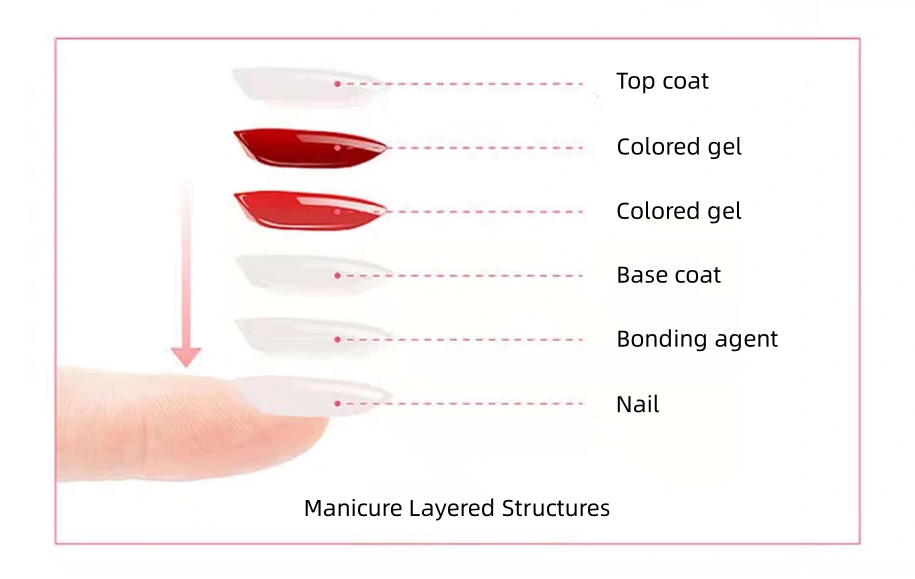
Specific Nail Art Procedure and Corresponding Curing Times
Before starting anything, make sure to clean the nail surface thoroughly. Different gel polishes have varying curing times. The following recommended curing times are based on the most commonly used UV & LED nail lamps:
- Bonding agent & anti-lifting solution: Allow to air dry naturally; no lamp curing needed.
- Base coat: This protects the nails and prevents direct contact between the colored gel and the nails. The base coat also enhances the adhesion of the colored gel, ensuring that the nail art remains intact. It’s crucial to ensure the base coat is thoroughly cured (you might need to extend the curing time), or else the base coat and the subsequent gel polish may mix, leading to uneven color.
- Colored gel: Apply in thin layers multiple times. Even though this approach might sound time-consuming, layered application is more efficient and gives better results. It prevents leaks and allows the nail polish to dry more easily, ensuring richer color.
- Pro-tip: Don’t apply the polish directly from the bottle. Instead, wipe off some at the bottle’s mouth before applying to the nail.
- Curing time: 60 seconds after each layer.
- Strengthening gel: Increases nail thickness and prevents brittle nails from cracking.
- Top coats (e.g., no-wipe top coat, hardening top coat, matte top coat, cleansing top coat, hard top coat, etc.): They maintain the glossiness and durability of the nail art, ensuring longevity.
- Curing time: 120 seconds.
- Gels for gems, strong-hold gels, cat-eye gels, transfer gels, glitter gels, and pre-coat for magic mirror powder:
- Building gels, leveling gels, color-painting gels, gradient gels, UV elongation shaping, and paperless extension gels:
- Hand-painting: Patterns and lines require about 10 seconds of curing to prevent smudging. For larger areas of hand-painting, a curing time of approximately 60 seconds is recommended, with a preference for thin, multiple applications.
- Adhesive for gem setting: About 120 seconds of curing. Small gems can use the strengthening gel with a curing time of 60 seconds.
Why Isn't The Gel Polish Drying Under The Nail Lamp?
Possible reasons include:
- Applying too much gel polish – a pair of hands typically needs just 0.1ml.
- Hardware issues with the nail lamp, such as bulb malfunction, aging lamp tubes, or dim light.
- Incorrect hand placement during light exposure, causing some nail angles to be missed.
- Insufficient light exposure time, leading to incomplete curing.
- Quality issues with the gel polish itself. High-quality gel polishes should have pure colors and a smooth surface post-curing.
Conclusion
The nail art process can seem both simple and complex. Once you familiarize yourself with the steps and nuances, the entire endeavor becomes engaging and enjoyable. Always remember that each individual’s experience may vary, and it’s essential to find what works best for you. Safe and beautiful nail art is a blend of technique, quality products, and attention to detail.
Social Sharing: If you found this guide valuable, please consider sharing it on your favorite social media platforms. Your support helps others get access to this crucial information!
Feedback and Comments: We truly value your thoughts and feedback! If our website’s setup permits, kindly leave your comments, questions, or experiences below.