Nail Lamp Know-How: Safe Usage and Maintenance Tips for Beautiful Nails

Leave us a message

See how 300+ brands are creating value with Iksbeauty.

Nail lamps are essential tools for curing gel polish, ensuring a long-lasting and professional finish. However, using them correctly is crucial to achieve optimal results and maintain the health of your nails. This article will explore how to use nail lamps properly, the curing times for different types of gel polish, and the maintenance and cleaning of nail lamps to keep them in good working condition.

How to Use Nail Lamps Correctly

  1. Prepare Your Nails:
  • Clean and Shape: Start by cleaning your nails thoroughly to remove any oils or residues. Shape and buff the nails to create a smooth surface for the gel polish to adhere to.
  • Apply Base Coat: Apply a thin layer of base coat to your nails. This helps protect your natural nails and provides a smooth surface for the gel polish.
  1. Apply Gel Polish:
  • Thin Layers: Apply the gel polish in thin, even layers. Thick layers can lead to uneven curing and may cause the polish to wrinkle or lift.
  • Cap the Edges: Ensure that you cap the free edges of your nails with polish to prevent chipping and enhance the durability of the manicure.
  1. Using the Nail Lamp:
  • Position the Lamp: Place the nail lamp on a flat, stable surface. Ensure it is plugged in and switched on. Some lamps have automatic sensors that turn on when you place your hand inside.
  • Insert Your Hand: Place your hand inside the lamp, making sure all nails are exposed to the light. Avoid overlapping fingers to ensure each nail receives adequate light exposure.
  • Set the Timer: Use the timer settings on the lamp to cure the gel polish for the recommended duration. Different layers (base, color, top coat) may require different curing times.
  1. Cure Each Layer:
  • Cure Base Coat: Cure the base coat according to the manufacturer’s instructions, usually for 30-60 seconds.
  • Cure Gel Polish: Cure each layer of gel polish for the recommended time, typically between 30-60 seconds per layer for LED lamps and 2-3 minutes for UV lamps.
  • Cure Top Coat: Apply and cure the top coat, which seals in the polish and adds a glossy finish. Follow the recommended curing time to ensure a durable top coat.
  1. Final Steps:
  • Clean Residue: After curing the top coat, use a lint-free wipe and isopropyl alcohol to remove any tacky residue left on the nails.
  • Moisturize: Finish by applying cuticle oil and moisturizing your hands to keep your skin and nails healthy.

Curing Times for Different Gel Polishes

Base Coat

  • Average Curing Time: 30-60 seconds
  • Notes: Ensure a thin, even application to facilitate quick and thorough curing.

Color Gel Polish

  • Regular Gel Polish:
    • Curing Time per Layer: 30-60 seconds
    • Notes: Apply in thin layers for even coverage and curing.
  • Pigmented Gel Polish:
    • Curing Time per Layer: 60-90 seconds
    • Notes: Heavily pigmented gels may require slightly longer curing times to ensure thorough curing.

Top Coat

  • Standard Top Coat:
    • Curing Time: 30-60 seconds
    • Notes: A thin application will help achieve a smooth, glossy finish.
  • No-Wipe Top Coat:
    • Curing Time: 60 seconds
    • Notes: This type of top coat eliminates the need for cleaning the sticky residue.

Builder Gel

  • Curing Time per Layer: 60-90 seconds
  • Notes: Typically requires a longer curing time due to its thicker consistency.

Matte Top Coat

  • Curing Time: 30-60 seconds
  • Notes: Follow the specific product instructions for the best matte finish results.

Specialty Gels (e.g., Cat Eye, Magnetic Gel)

  • Curing Time per Layer: 60-90 seconds
  • Notes: Additional effects like magnets may require longer curing to ensure the design sets properly.

Maintenance and Cleaning of Nail Lamps

  1. Regular Cleaning:
  • Wipe Down Surfaces: After each use, wipe down the exterior and interior surfaces of the nail lamp with a soft cloth and a mild disinfectant to remove any dust, gel polish residue, or fingerprints.
  • Clean the Reflectors: Ensure the reflective surfaces inside the lamp are clean to maintain effective light dispersion and ensure even curing.
  1. Ventilation:
  • Avoid Overheating: Ensure the lamp is well-ventilated to prevent overheating, which can reduce the lifespan of the bulbs and the lamp itself.
  • Keep Air Vents Clear: Make sure the air vents on the lamp are free of dust and debris to allow proper airflow.
  1. Storage:
  • Store in a Safe Place: When not in use, store the nail lamp in a cool, dry place to protect it from dust, moisture, and accidental damage.
  • Cover It Up: Use a protective cover or bag to keep the lamp clean and prevent dust accumulation.
  1. Electrical Safety:
  • Avoid Water: Keep the nail lamp away from water to prevent electrical hazards.
  • Unplug After Use: Always unplug the lamp after use to avoid potential electrical issues and extend the lifespan of the lamp.
Conclusion:

Using a nail lamp correctly is key to achieving a professional-quality gel manicure. By following proper application techniques, adhering to recommended curing times for different gel polishes, and maintaining and cleaning the lamp regularly, you can ensure safe and effective use. Whether you’re a professional nail technician or an at-home enthusiast, understanding these practices will help you enjoy long-lasting, beautiful nails while keeping your nail lamp in top condition.

Social Sharing: If you found this guide valuable, please consider sharing it on your favorite social media platforms. Your support helps others get access to this crucial information!

Feedback and Comments: We truly value your thoughts and feedback! If our website’s setup permits, kindly leave your comments, questions, or experiences below.

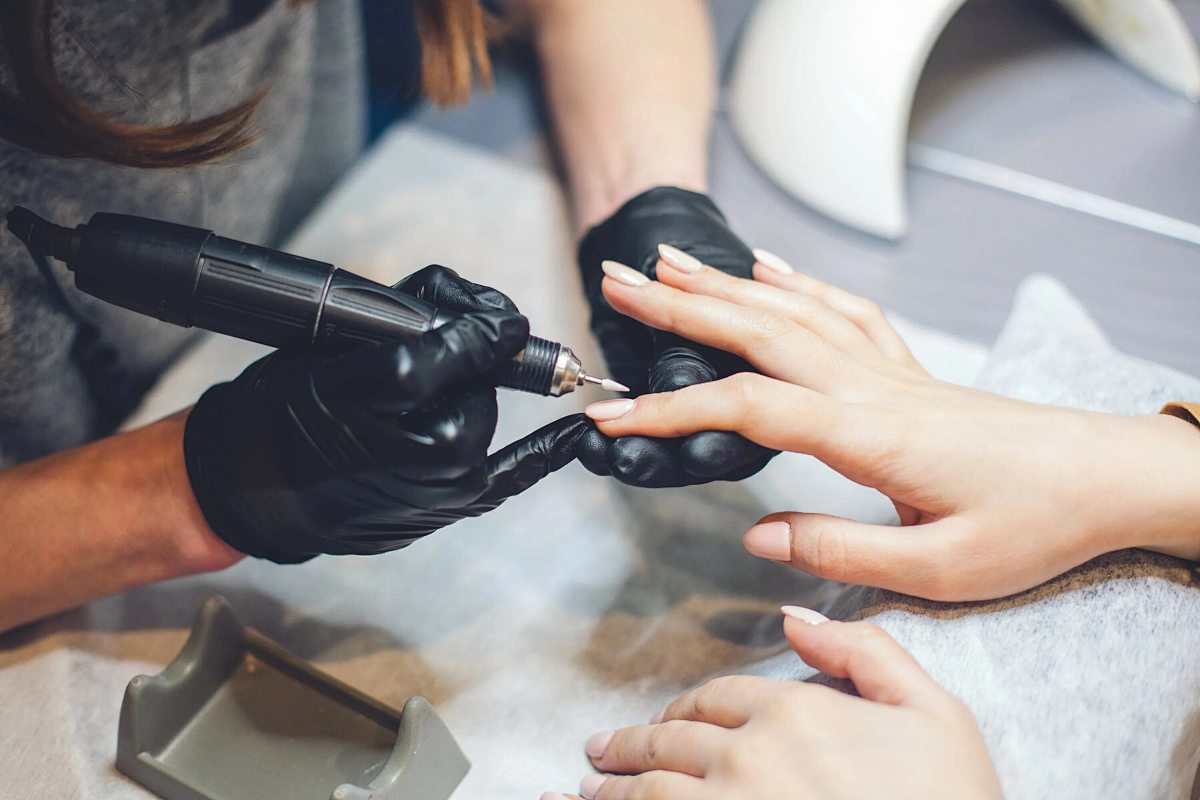
Perfecting Nail Art: The Effectiveness and Care Tips for Using Nail Drills

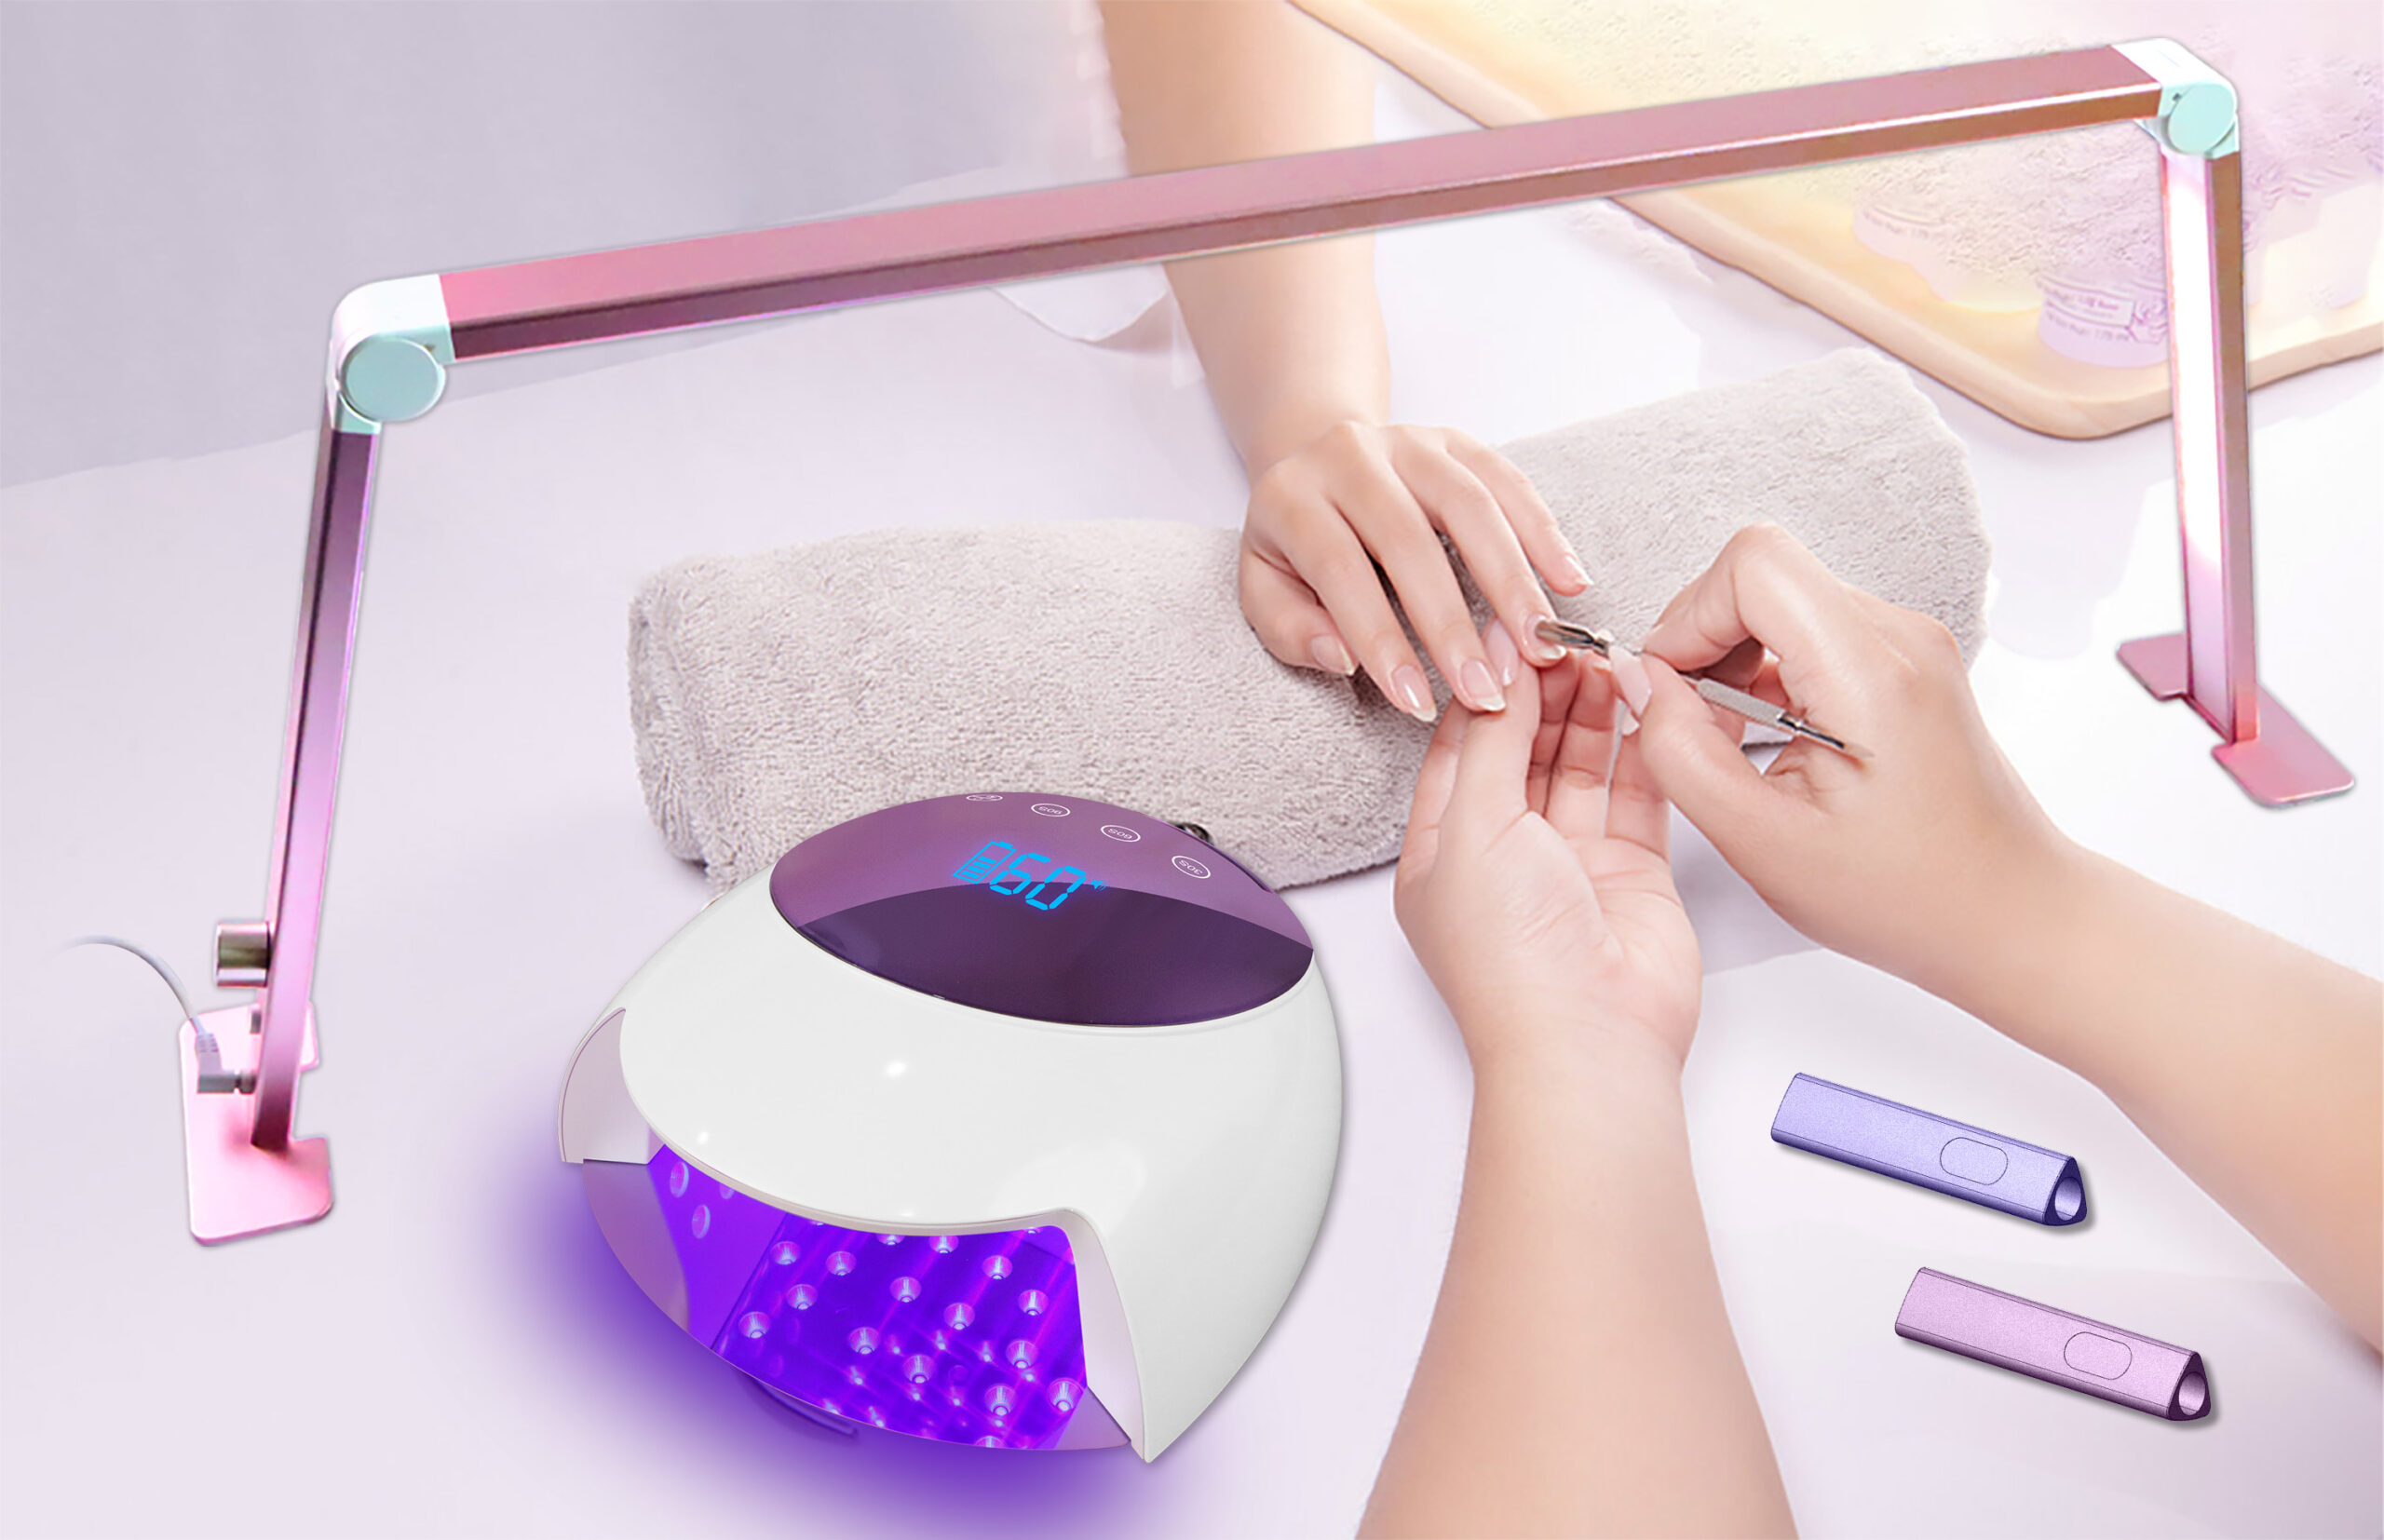
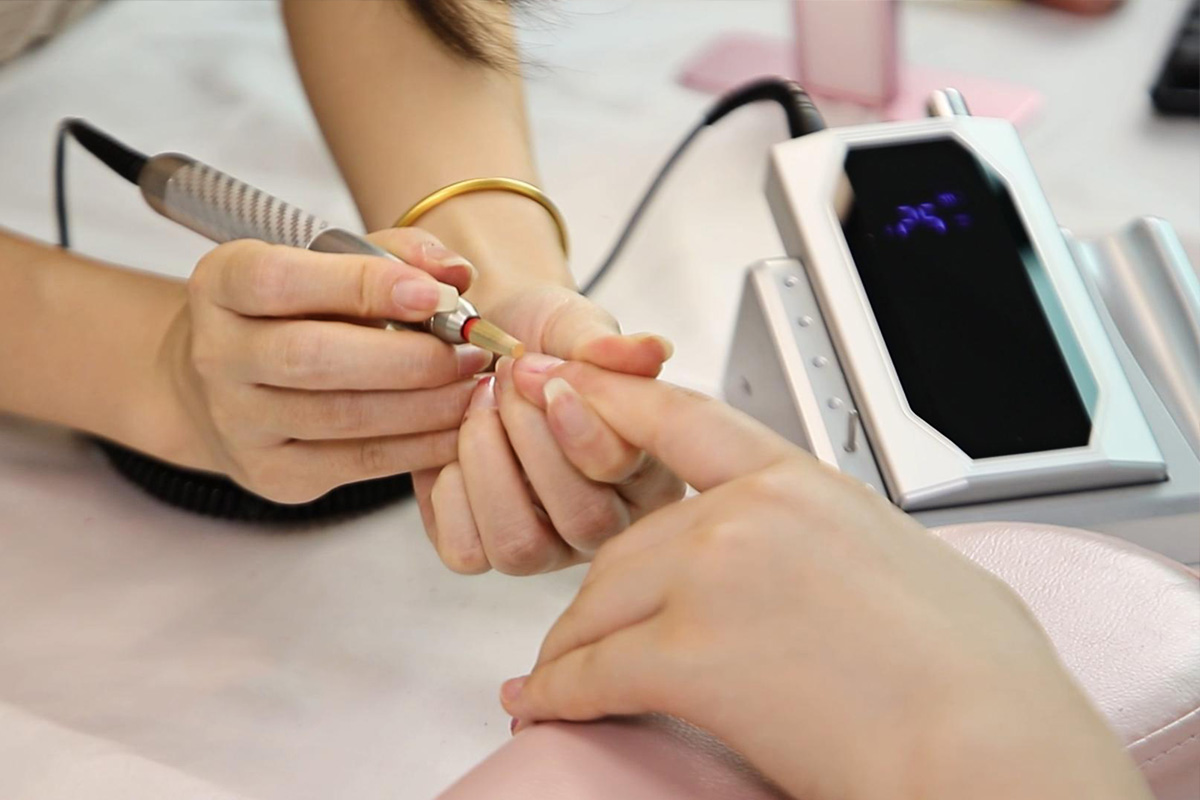
Nail drills, also known as electric nail files or e-files, are powerful tools that have revolutionized the nail care industry. They are widely used by professional nail technicians and home users alike to achieve flawless nails. In this article, we will explore how nail drills enhance the quality of nail care, the essential post-care tips for maintaining healthy nails after using a nail drill, and best practices to achieve the best results with a nail drill.

Read More »

The Safety of Nail Drills: Ensuring Safe Use for Healthy Nails

Nail drills, also known as electric nail files, have become an indispensable tool in both professional salons and home manicure kits. These devices offer precision and efficiency in shaping, buffing, and removing nail enhancements. However, their use requires careful handling to prevent damage to the nails and surrounding skin. This article will explore safety precautions when using nail drills, their impact on nails, and how to avoid potential damage.

Read More »